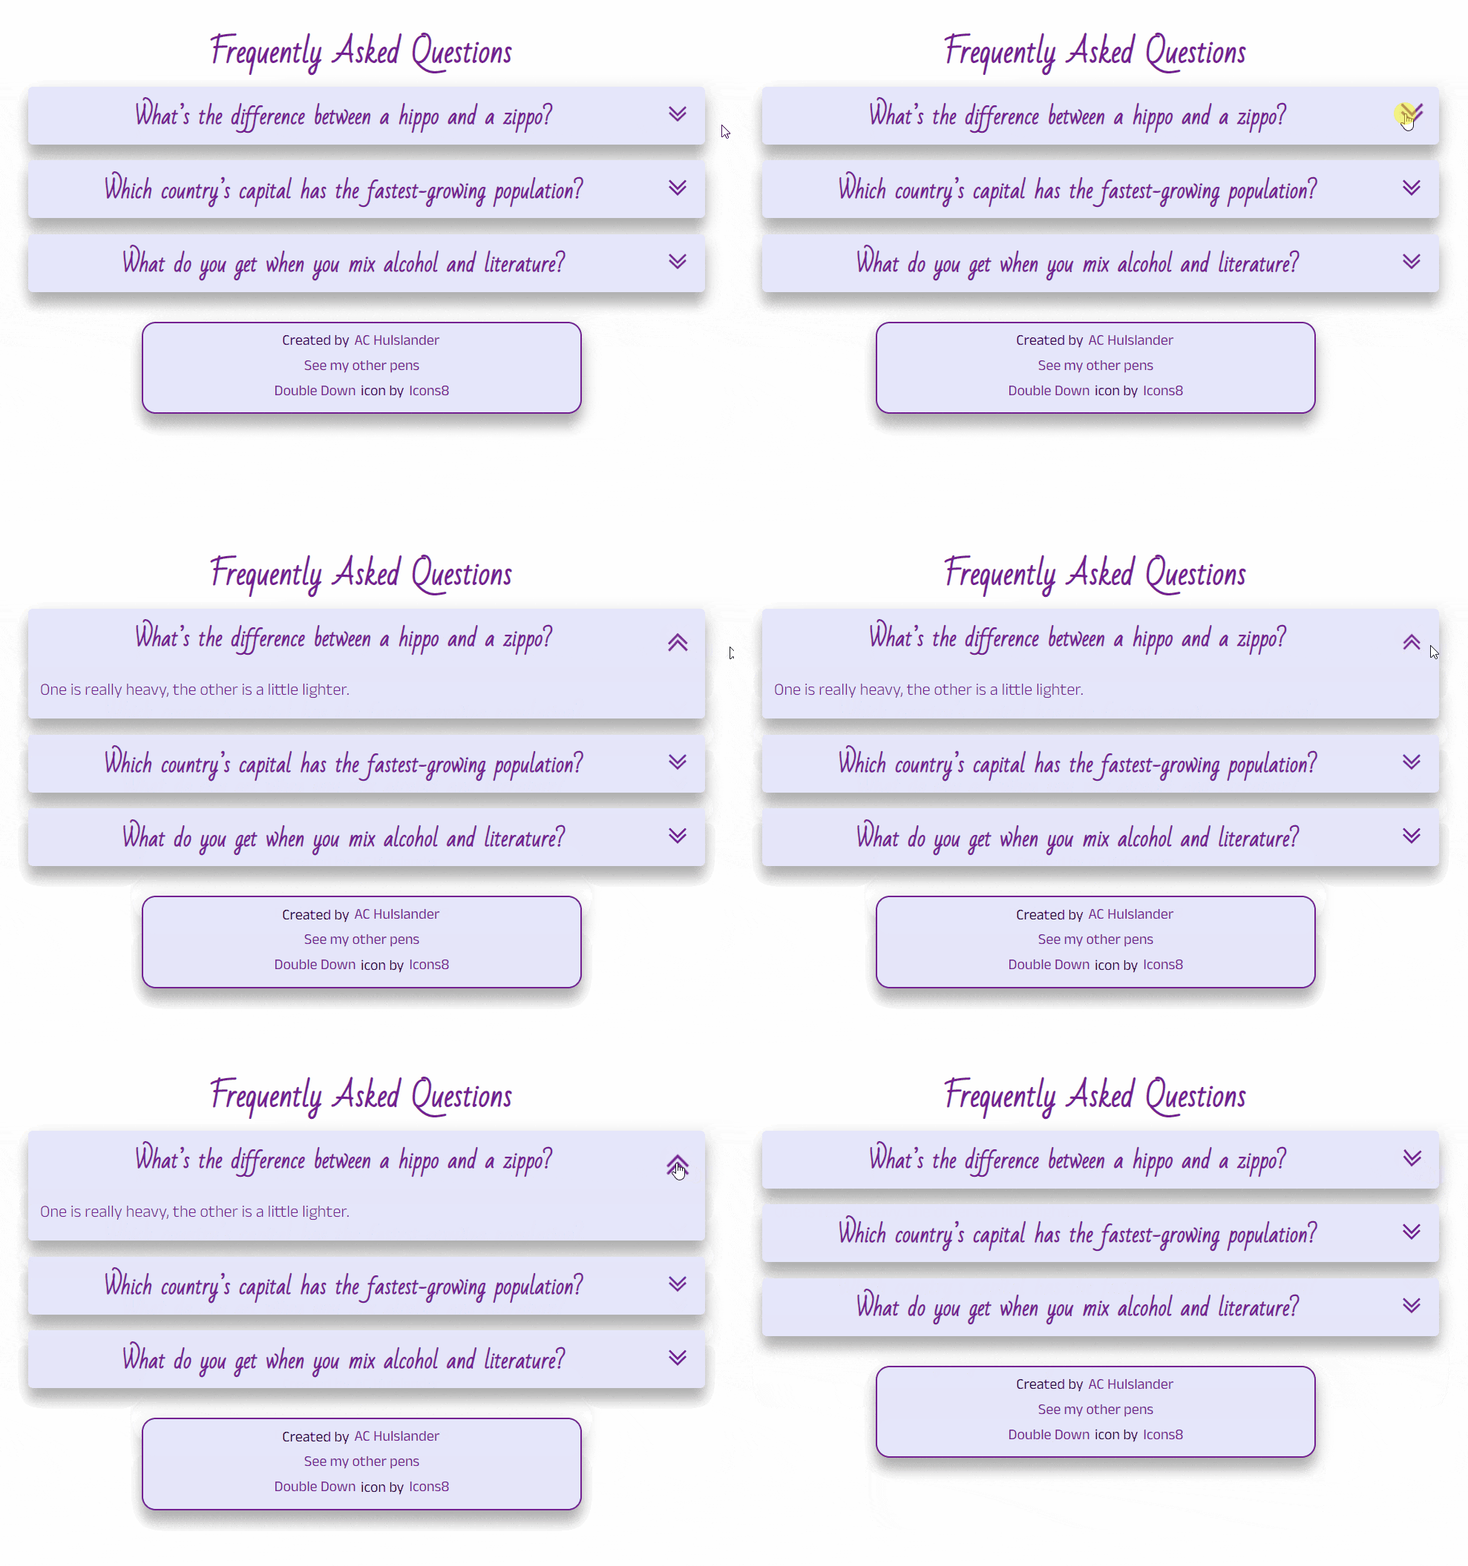
Photo by fatty corgi on Unsplash
How to Make an Accordion FAQ with HTML, SCSS and JS
Using JavaScript, we'll add a class to display the question's answer.
Today I'm going to show how to make a fun little FAQ page that looks a lot fancier than it is difficult. This project will come in three parts: the basic structure, improving accessibility, and the styling.

HTML
First, we need our HTML. Each question is going to be an article, and in it will be a question and its answer like so:
<article>
    <div>
         <h2>Question One</h2>
     </div>
     <div>
          <p>Lorem ipsum dolor sit amet, consectetur adipiscing elit.</p>
     </div>
</article>
For styling purposes, article will have a class of q, the div wrapping the h2 will have a class of title, and the div wrapping the p containing the answer will have a class of answer.
The answers won't automatically be visible, this is a fancy-pants FAQ after all! So we'll need a button to expand and collapse the answers:
<button></button>
and we'll tuck that in to our title div. Feel free to add some text in the button or an image that users can click.
SCSS
Now, the way we're going to make the answers visible is by adding a class to the answer div when a user clicks the button. Initially our SCSS for answer needs to ensure the answer is not visible:
.answer {
    display: none;
}
and we'll be adding a class called clicked to make it visible:
.clicked {
    .answer {
        display: block;
  }
}
But how do we add the clicked class to the div? I'm so glad you asked! That takes us right to our next section.
JavaScript
We're going to start out with const question=document.querySelectorAll('.q');, this will get all of our articles, our individual questions.
I had never used forEach, so this was a good excuse to learn about it, and it's perfect for what we're doing. forEach performs an action once on each item in an array. Where's our array? Weeell, we don't have one. Ope.
Luckily querySelectorAll returns a NodeList that forEach treats like an array. So, the tl;dr is querySelectorAll compiles a list of the elements with class q, and forEach performs an action on each item in the list one time.
Still with me? I hope so! Now let's add the forEach we just learned about to our code:
question.forEach(function (quest) { })
Before we fill in the action to be performed on each question, we need to make it so our buttons can be put to work. Inside the curly braces we'll create a variable for them:
const btn=quest.querySelector('button');
This will give us access to the button elements. Each question has a button, and now that we have access to the latter, we can add an eventListener so we can reveal the answer:
btn.addEventListener('click', function() { })
Now, when a user clicks a button, a function is executed. How does this happen? That line of code is 'listening' for the user to click on something (in our case a button) so it can perform its task (show the answer).
So for a quick recap: so far with our JavaScript we have gathered all of the questions, we have gained access to the buttons in each of those questions, and we told the buttons to pay attention as they may get clicked.
Speaking of clicked, I mean, .clicked, here's where that class comes in to play. We'll use classList to make the changes we want. classList returns a live list of the classes an element has. There are different ways to use classList on elements: add() a class, remove() a class, toggle() a class or replace() a class. I want my answers to stay visible until the user decides to close them, so I'm going to use toggle(). And that looks like this:
quest.classList.toggle('clicked');
So what's happening now? When a user clicks on a button, the eventListener knows the click means to toggle .clicked on quest, which is the question. For a refresher, here's .clicked:
.clicked {
    .answer {
        display: block;
  }
}
Or if you're using CSS:
.clicked .answer {
    display: block;
}
It's important to note the presence of .answer; if we just added .clicked { display: block } to the article, it wouldn't show the answer. By having .answer in there, it will match an element that has a class of answer only if that element has a parent element with .clicked. Which is now what we have: our eventListener adds .clicked to the article, which contains <div class="answer"> and boom! Our answer appears!
Please note the space between .clicked and .answer in the CSS version, if that space is removed it will be looking for something different and the answer won't appear.
Here's a visual of what classList.toggle does to the HTML when a button is clicked:

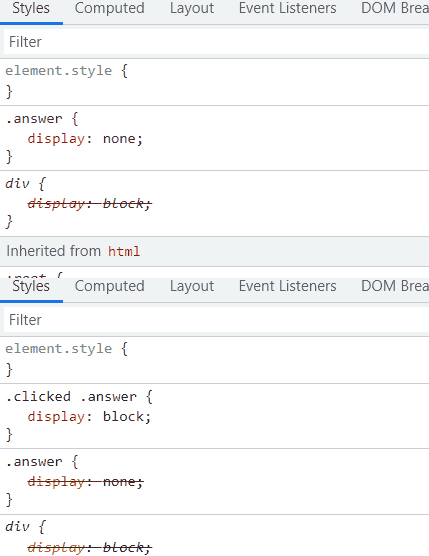
And here's what's happening on the styles before and after the click:

That's all there is to it! Pretty simple, yeah?
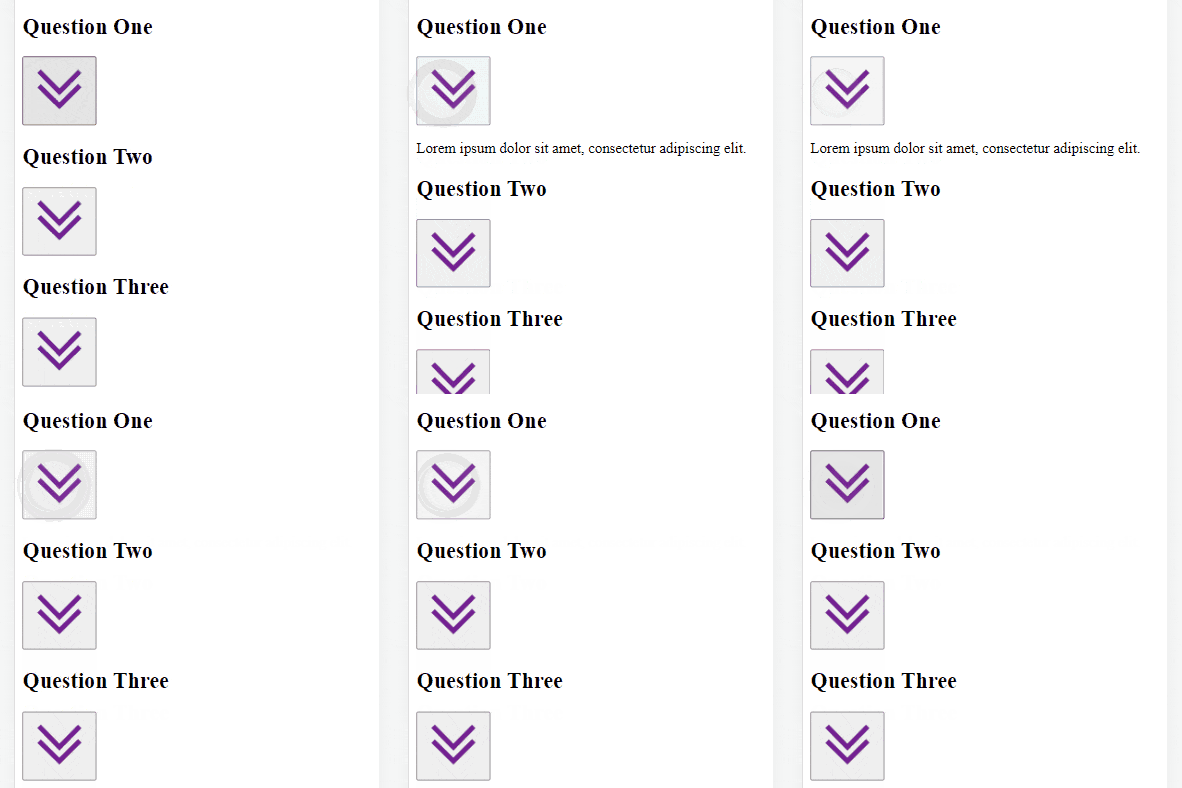
Now your project should look something like this:

Let me know if you have any questions or comments, and drop a link if you try this out for yourself! Check out part 2 where we improve accessibility and part 3 where we add styling and rotate that arrow when the user clicks the button.

